
 Package of Software DASH MILLEAGE CORRECTION AIRBAG CRASH CLEAR IMMO / TOTAL 32 GB
 Subtotal: $57
Upgrade Your Dashboard: The Complete Guide to Instrument Cluster Retrofitting 4
Your vehicle’s instrument cluster plays a vital role in providing essential information about your car’s performance and status. As automotive technology continues to advance rapidly, many older vehicles may have outdated instrument clusters that lack modern features and aesthetics. However, there’s good news for vehicle owners who wish to upgrade their dashboards without replacing the entire vehicle. Through a process known as instrument cluster retrofitting, you can breathe new life into your dashboard, improving both functionality and style. In this blog post, we’ll delve into the world of instrument cluster retrofitting, exploring its benefits, the steps involved, and how it can transform your driving experience.
I. Understanding Instrument Cluster Retrofitting
A. Definition and Concept:
Instrument cluster retrofitting refers to the process of upgrading or replacing outdated instrument clusters with newer models or retrofit kits while retaining the original dashboard layout. This allows you to enjoy the advantages of modern instrument clusters without the need for a complete dashboard overhaul. By integrating advanced technologies and features, retrofitting offers an effective and cost-efficient alternative to purchasing a new vehicle.

B. Benefits of Retrofitting
- Cost-Effectiveness: Retrofitting your instrument cluster is significantly more economical than buying a new vehicle. It allows you to enjoy the benefits of a modern dashboard at a fraction of the cost.
- Improved Functionality: Retrofitting opens up a world of possibilities, providing access to advanced features such as touchscreen displays, GPS navigation, Bluetooth connectivity, and more. Upgrading your instrument cluster enhances convenience, usability, and overall driving experience.
II. Assessing Your Instrument Cluster
A. Identifying the Need for Retrofitting
To determine whether your vehicle could benefit from a retrofit, keep an eye out for certain signs. Outdated technology, malfunctioning displays, limited functionality, or a desire for a more modern and appealing dashboard are indicators that it may be time for an upgrade. Additionally, it is essential to ensure that retrofit kits are available for your specific make and model.
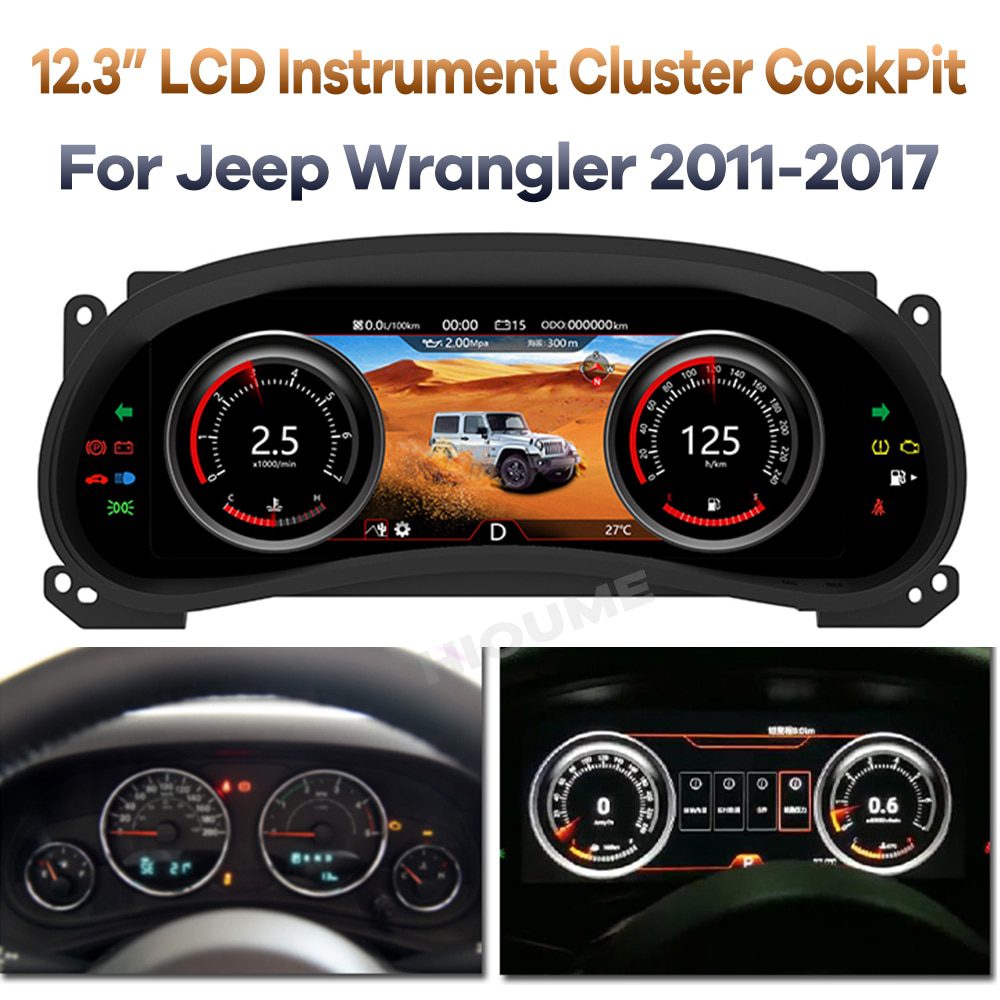
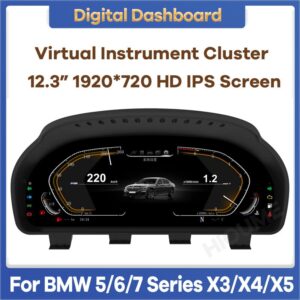
B. Researching Retrofit Options
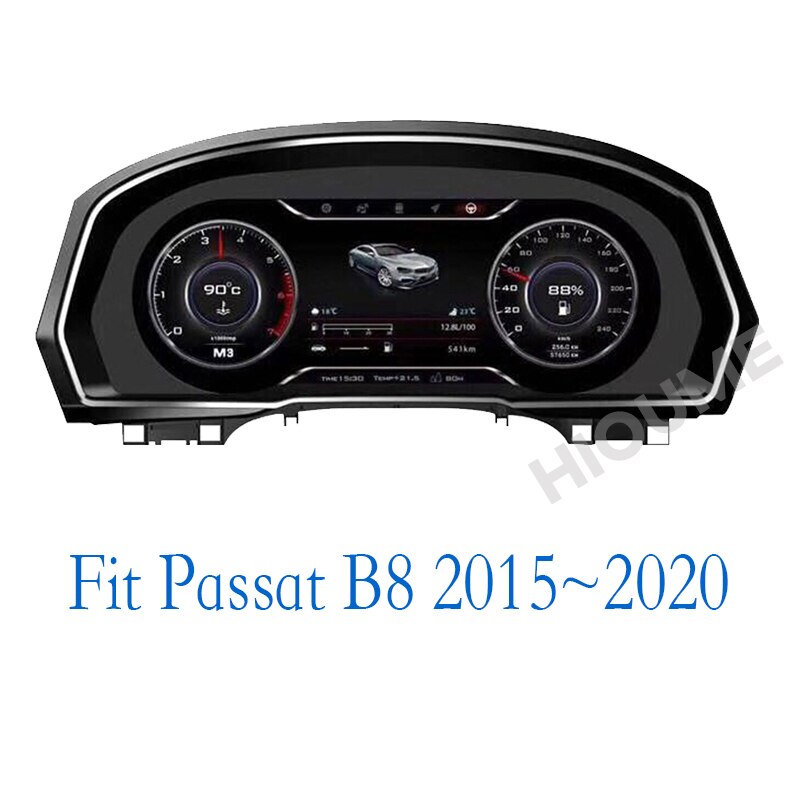
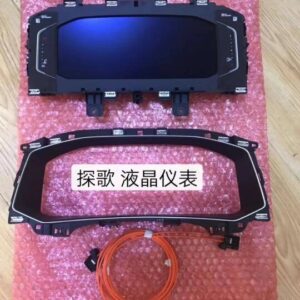
Before proceeding with the retrofitting process, it’s crucial to conduct thorough research on available retrofit options. Different retrofit kits offer varying features, compatibility, and costs. Look for kits specifically designed for your vehicle make and model to ensure a seamless integration into your dashboard. Consider factors such as display size, resolution, compatibility with existing vehicle systems, and any additional features you desire. We are thrilled to showcase an extensive collection of instrument clusters and virtual clusters available for purchase in our store. Our commitment to providing high-quality automotive accessories is evident in the wide range of options we have carefully curated. Whether you’re looking for a traditional instrument cluster with analog dials or a cutting-edge virtual cluster featuring customizable digital displays, our store has something to suit every driver’s preferences. As you scroll down this blog post, you’ll discover a captivating array of innovative and visually stunning instrument clusters that are designed to enhance your driving experience. Take your time exploring the selection, and rest assured that each cluster has been meticulously crafted to deliver accurate readings and a seamless integration with your vehicle dashboard.
III. Preparing for the Retrofit
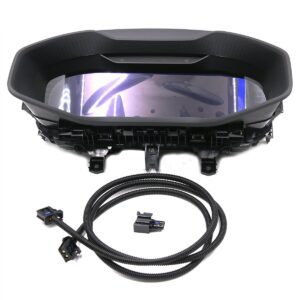
A. Gathering Necessary Tools and Materials
Before starting the retrofitting process, make sure you have the required tools. Depending on the retrofit kit and your vehicle’s specifications, the tools may include screwdrivers, pliers, wire cutters, electrical tape, and a multimeter. Refer to the retrofit kit’s instructions for any additional materials or components needed.
B. Familiarizing Yourself with the Vehicle’s Wiring System
Understanding your vehicle’s wiring system is crucial for a successful retrofit. Consult the vehicle’s wiring diagram, which can often be found in the owner’s manual or obtained from the manufacturer’s website. Familiarize yourself with the locations and types of connectors associated with the instrument cluster to ensure a smooth installation process.
IV. Retrofitting Process
A. Step-by-Step Installation Guide Follow these general steps for a successful instrument cluster retrofit:
- Begin by disconnecting the vehicle’s battery to prevent any electrical mishaps.
- Remove the old instrument cluster by carefully unscrewing or unclipping it from the dashboard. Take note of the wiring connections attached to the cluster.
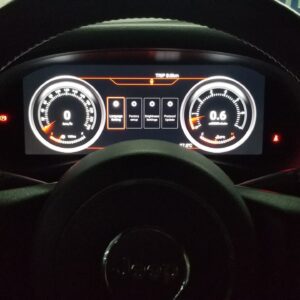
- Install the new retrofit kit by aligning it with the dashboard and securing it in place using the provided screws or clips. Ensure a snug fit to prevent any vibrations or movement during operation.
- Connect the wiring harness of the retrofit kit to the corresponding connectors in the vehicle. Pay close attention to the color-coding or labeling of the wires to ensure accurate connections. Use electrical tape or connectors to secure the connections and prevent any loose wiring.
- Once all the connections are made, reattach the vehicle’s battery and power it on. Test the functionality of the new instrument cluster, ensuring that all displays, gauges, and lights are working correctly.

B. Wiring and Connections Proper wiring and connections are vital for the successful integration of the retrofit kit.
Here are some important considerations:
- Refer to the wiring diagram provided with the retrofit kit and your vehicle’s wiring diagram to identify the corresponding wires for power, ground, illumination, and any other specific functions.
- Double-check the connections to ensure they are secure and properly seated. Avoid loose connections that may lead to intermittent issues or malfunctions.
- Test each function of the instrument cluster after making the wiring connections to ensure proper functionality.
C. Testing and Calibration
After completing the retrofitting process, thorough testing and calibration are necessary to ensure accurate readings and optimal performance. Follow these steps:
- Check all instrument cluster displays, including gauges, warning lights, and indicators, to ensure they function correctly. Pay attention to accuracy and responsiveness.
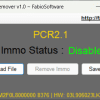
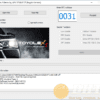
- Verify that the new instrument cluster is compatible with your vehicle’s systems, such as the engine control unit (ECU) or body control module (BCM). In some cases, additional programming or coding may be required to enable full functionality.
- If required, perform any calibration procedures recommended by the retrofit kit manufacturer. This may involve adjusting settings, calibrating sensors, or syncing the new instrument cluster with other vehicle components.
V. Post-Retrofit Considerations
A. Customization and Personalization
One of the significant advantages of retrofitting is the ability to customize your instrument cluster according to your preferences. Depending on the retrofit kit and features available, you may have options to personalize the appearance, display layouts, or even add additional features. Take advantage of these customization options to tailor the instrument cluster to your liking.
B. Maintenance and Troubleshooting
To ensure the longevity and proper functioning of your retrofitted instrument cluster, follow these maintenance tips:
- Regularly clean the instrument cluster to remove dust, dirt, or fingerprints that may obstruct visibility or affect touch-sensitive displays.
- Keep an eye out for any abnormal behavior or malfunctions. If you encounter issues, consult the retrofit kit manufacturer’s troubleshooting guide or seek professional assistance.
- Stay up to date with software updates or firmware releases for the retrofit kit, as these may address bugs, enhance performance, or introduce new features.
Summary:
Instrument cluster retrofitting offers a practical solution for upgrading outdated dashboards, providing an array of benefits at a fraction of the cost of buying a new vehicle. By following the outlined steps, you can successfully transform your vehicle’s instrument cluster, enhancing both functionality and aesthetics. Take the time to assess your instrument cluster’s compatibility, research available retrofit options, and carefully execute the retrofitting process. With proper installation, wiring, and calibration, you’ll enjoy a modernized dashboard that meets your needs and enhances your overal driving experience.
Remember,retrofitting requires attention to detail and a basic understanding of your vehicle’s wiring system. If you feel unsure or uncomfortable with any aspect of the process, it’s always recommended to consult a professional automotive technician who can provide expert guidance and asistance.
We hope this blog post has provided you with a comprehensive understanding of instrument cluster retrofitting. By opting for a retrofit instead of purchasing a new vehicle, you can save money while still enjoying the benefits of modern technology and improved functionality.
If you have any questions or would like to share your experiences with instrument cluster retrofitting, we invite you to leave a comment below. Our automotive robaizkine.com community is here to support and engage with you.
Once again, remember, when undertaking any retrofitting project, take your time, follow instructions diligently, and prioritize safety. With careful planning and execution, you’ll soon have a revamped instrument cluster that brings your vehicle’s dashboard into the modern age.
Happy retrofitting!


great post , keep it up guys!
I like to keep it stock.
I came across your blog post about retrofitting cluster, and I must say, it’s a fascinating idea! I’ve been considering a similar modification for my own vehicle, and your experience could provide valuable insights. I’m particularly interested in learning more about the process of retrofitting the virtual cluster. Were there any specific challenges or considerations you faced during the installation? Did you require any special tools or additional modifications to ensure compatibility with the Passat B8?
It would be fantastic if you could share some step-by-step instructions or recommendations based on your own experience. I’m sure many others, like myself, would greatly appreciate it.
Thanks Robbie
Great blog! Keep it up!